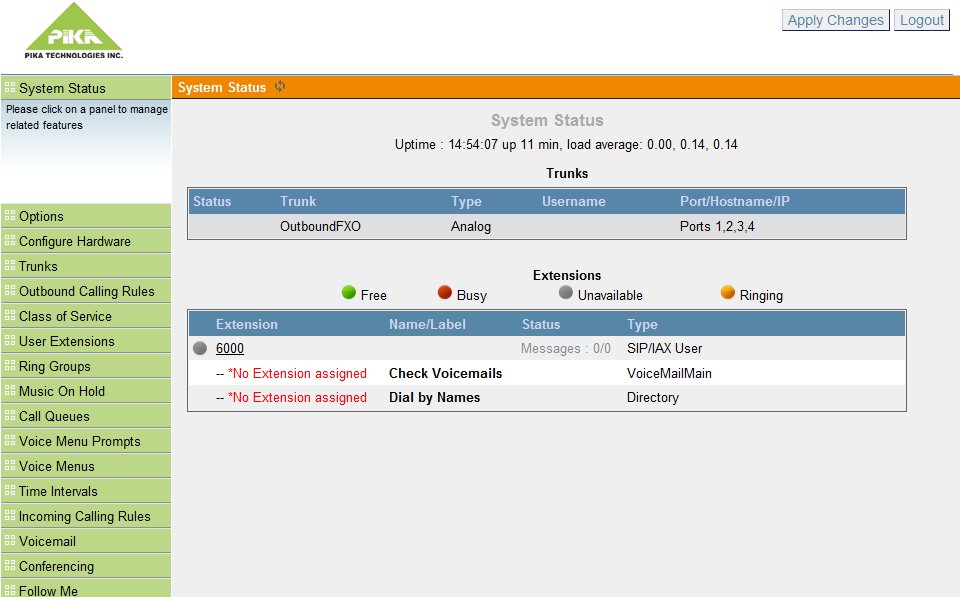
When I last reviewed the PIKA WARP Asterisk appliance, I named the post “Pokemon Asterisk” – today I’ve decided to review the PIKA WARP Asterisk appliance again, only this time, with the newly released Asterisk GUI 2.0 release – our cuddly Pikachu is now a Raichu (relax, it took me about 30 minutes to find out what a Picachu evolves into).
The new PIKA appliance now boasts the new star fangled Digium Asterisk GUI 2.0, which takes the old Asterisk GUI (which was OK, but still had some miles to go) and more or less throws it into the waste bin. The new GUI is far more useful, far more usable and most importantly – makes life way easier for the integrator. While the previous version of the PIKA Warp appliance was targeted for developers, the new version of the WARP is aimed directly into the heart of the integration scene.
Now, I have to admit that after upgrading the system to the new PIKA WARP cuImage I had some issues logging into the system. So, what I did is more or less hack myself in via ‘single user mode’. Here’s a small guide on how to do that. Before we being, you will require a serial cable connection to the WARP appliance in order to do this, which means, this is more or less a hardcore procedure.

When the system boots up, and you are confronted with a message saying “Hit any key to stop autoboot:” simply hit any key on your keyboard, and you’ll be fronted with the “=>” prompt, indicating that the boot loader is now waiting for information. Now, we need to tell the PIKA WARP appliance to boot into single user mode.
To do so, we need to modify the ‘ramargs’ environment variable of UBOOT, to indicate that we want to start single user mode. Enter the following command:
setenv ramargs setenv bootargs root=/dev/ram rw ramdisk_size=130000 single
This will indicate to the UBOOT loader to initiate a single user mode bootup. Once in single user mode, you can use the ‘passwd’ command to change the root password of the PIKA WARP appliance. This procedure can be used by an other PIKA WARP based appliance.
Once of the nice additions in the new Asterisk GUI 2.0 is the support for Class of Service, which doesn’t really exist in FreePBX. In many offices, managers like to restrict various extensions from accessing different parts of the telephony system – that is performed utilizing the Class of Service screen.

The “Class of Service” management enables you to create groups with access to specific trunks or PBX functions, thus, enabling you to seperate users and groups of users from specific PBX resources. For example, some users can be completely restricted from using outbound trunks, while others can be restricted to using a single FXO interface out of 4 connected FXO interfaces. In general, this is one of the best features in the GUI yet in my opinion.
I’m currently reviewing the new version, so once I have new information I’ll post my findings.
